If you're creating short-form videos, you’ve probably realized this: one app is never enough. The best creators don’t rely on just one magic tool—they build an editing stack that works together to make content faster, cleaner, and way more scroll-stopping.
Whether you're filming on your phone, editing on your couch, or voice-overing in your closet (we’ve all done it), having the right combo of apps can seriously upgrade your process.
Let’s walk through a creator-approved editing stack that covers filming, editing, sound, captions, and export—without needing a studio or a complicated setup.
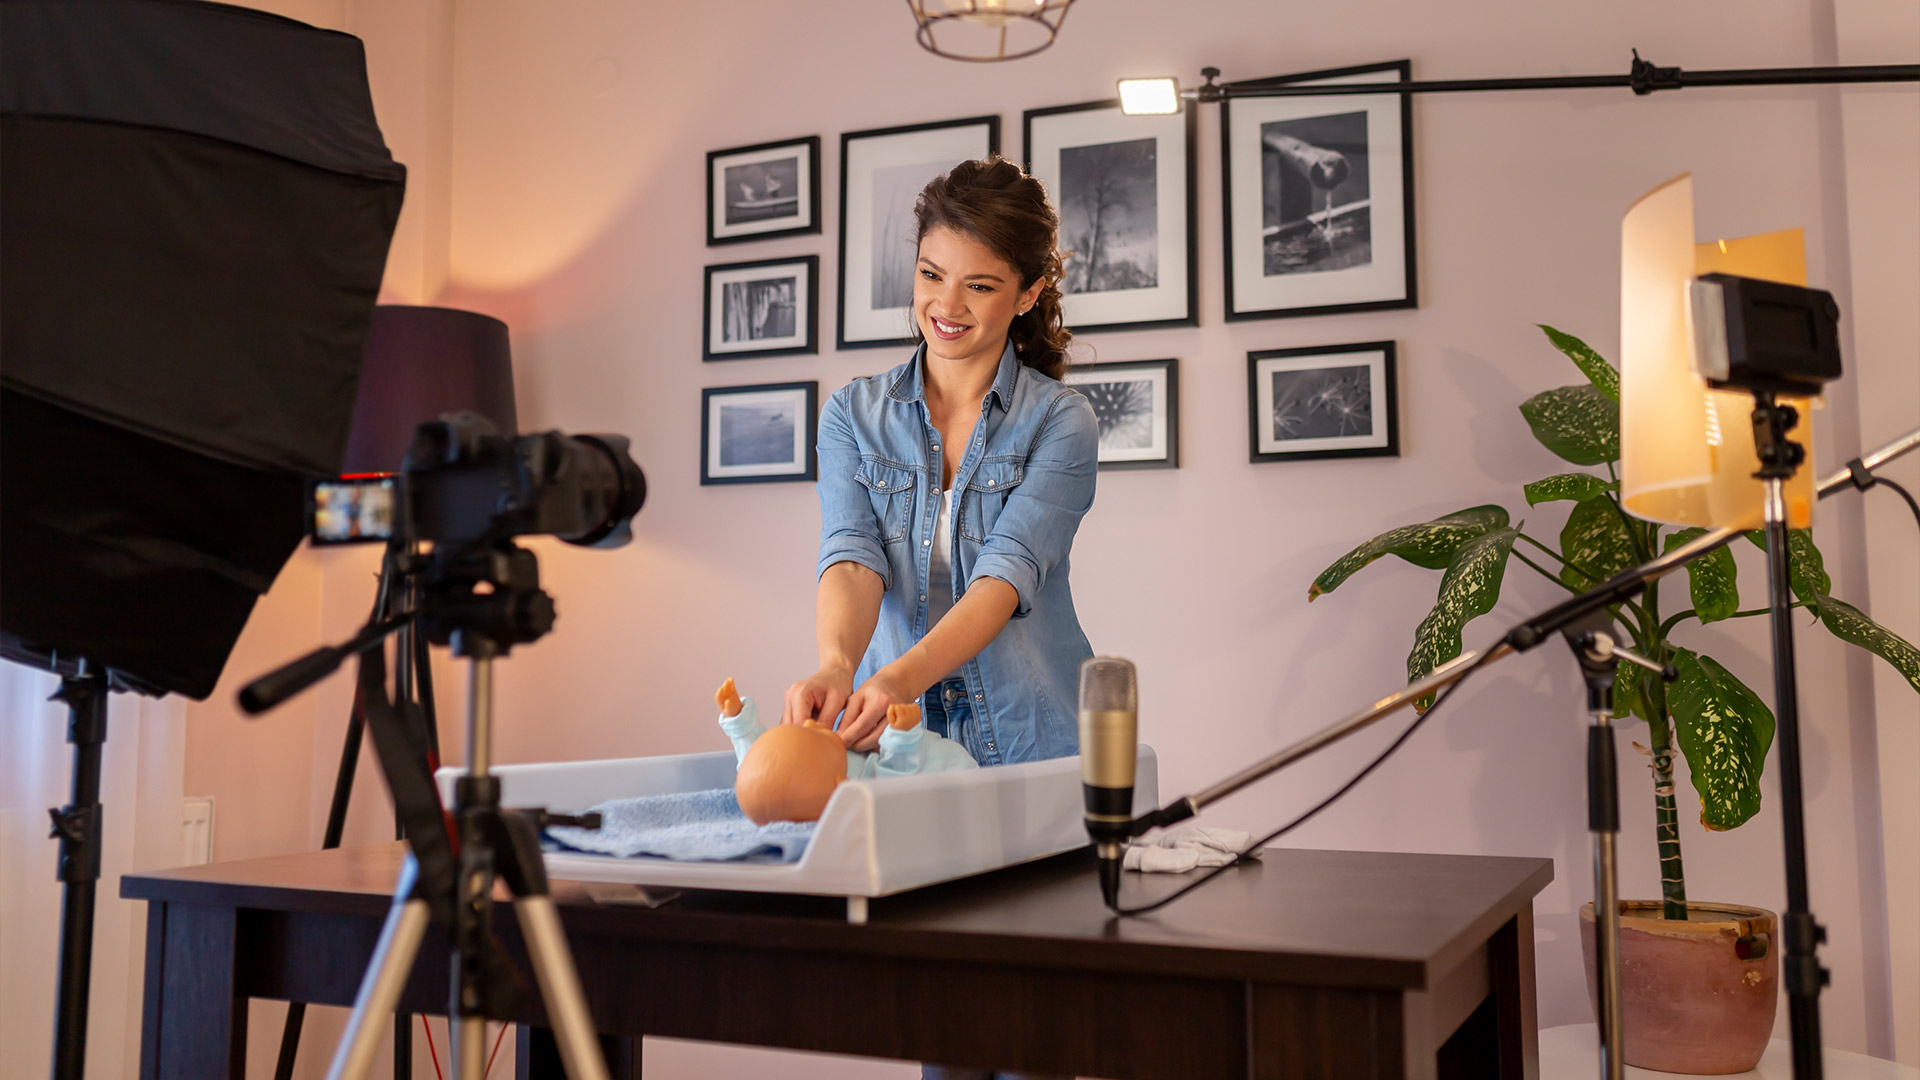
Step 1: Film It Right
Before you even open an editing app, make sure your footage doesn’t suck. A good capture saves you hours of fixing later.
Best apps for filming:
- Pro Camera by Moment (iOS): Manual focus, color control, and cinematic frame rates. Perfect for leveling up your iPhone footage.
- Filmic Pro (iOS/Android): Still one of the best pro-level mobile filming apps. You get full control over ISO, white balance, and audio.
- Native camera apps: Don’t underestimate your phone’s built-in tools—just switch to 4K and 60fps if possible, and lock exposure.
Quick tip: Always clean your lens. Always. Smudged content is the saddest kind of content.
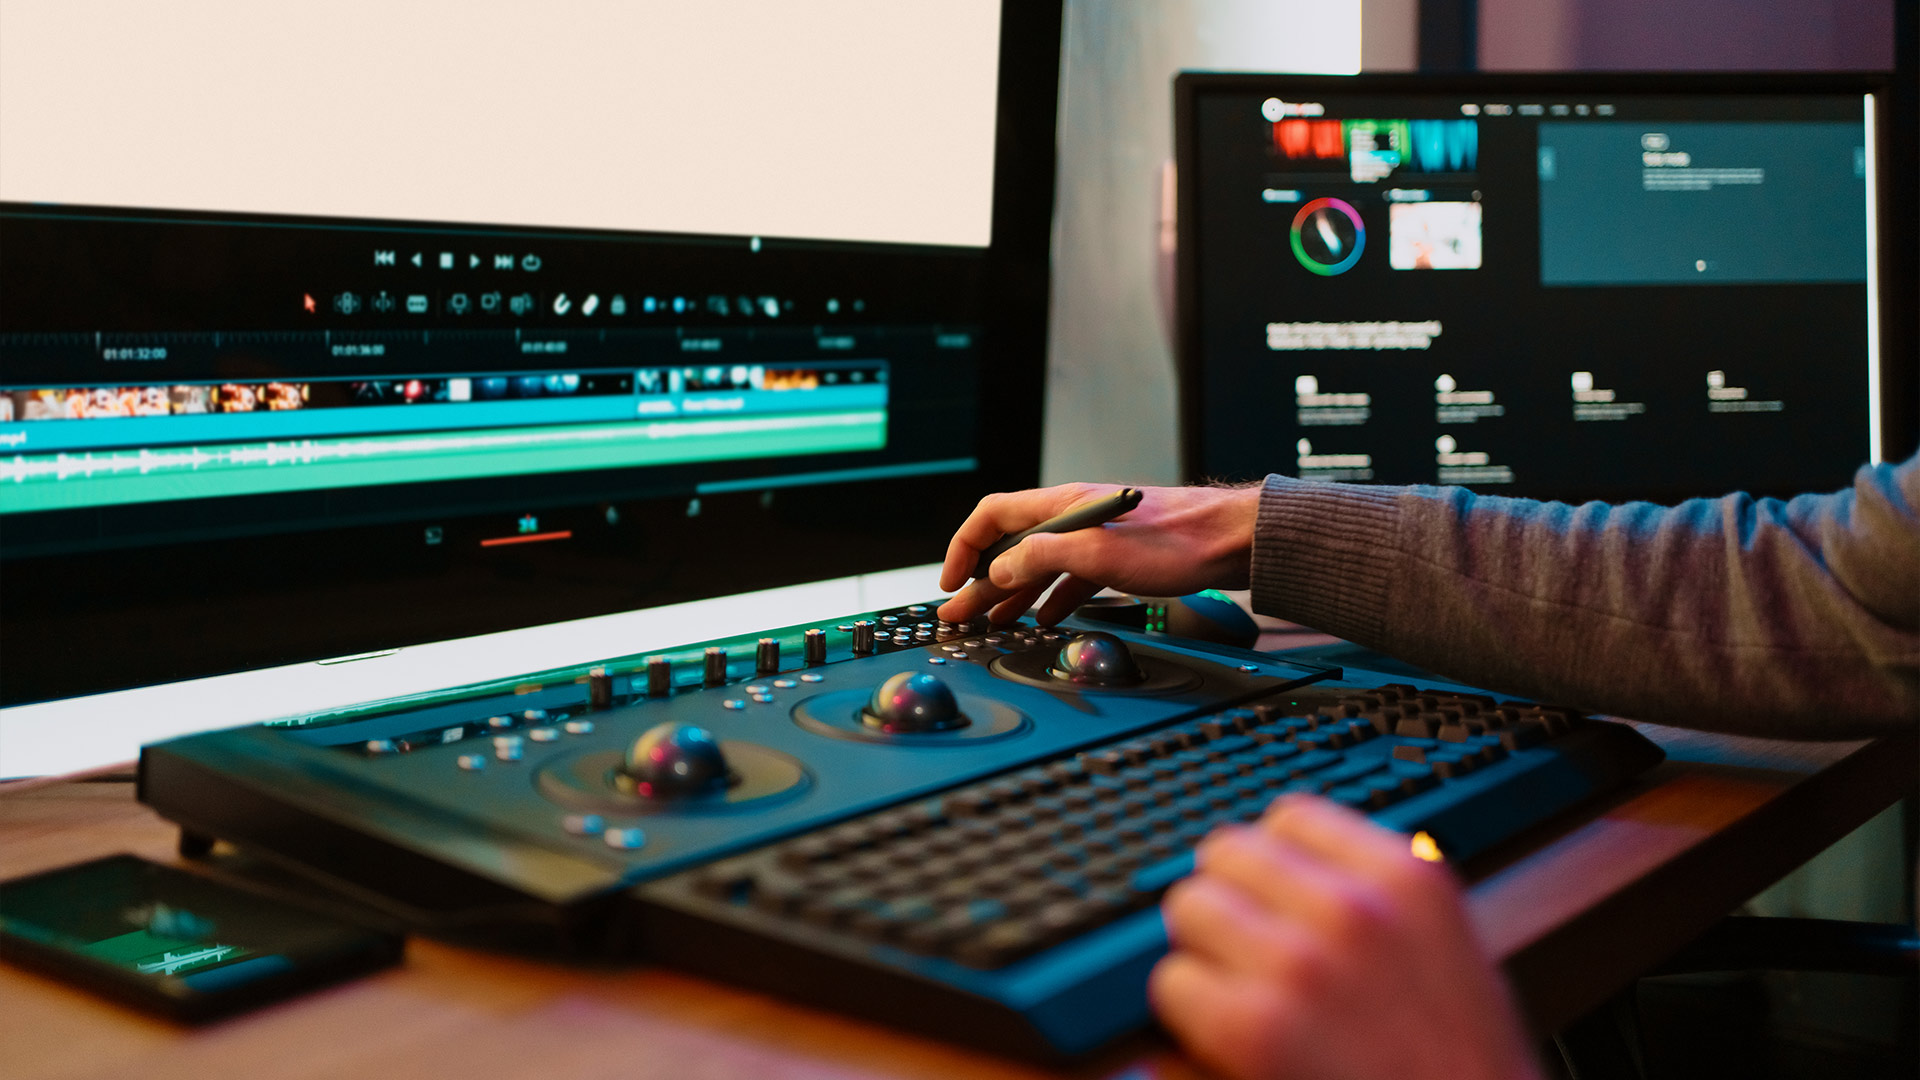
Step 2: Edit Like a Pro—Without the Overkill
Now comes the fun part: chopping, syncing, zooming, and all the cuts that make your video feel snappy. But you don’t need a desktop for that anymore.
Top editing apps:
- CapCut (iOS/Android/Desktop): Free, powerful, and made for social video. Think auto captions, effects, velocity edits, and template syncing.
- VN Video Editor (iOS/Android): Clean UI, timeline editing, and no watermarks. Great for intermediate creators.
- InShot (iOS/Android): The OG mobile editor. Super simple, fast, and perfect for quick Instagram or TikTok videos.
- Adobe Premiere Rush: For those in the Adobe ecosystem, this is the streamlined version of Premiere that actually works on your phone.
Pro move: Create custom aspect ratio templates (9:16, 1:1, 16:9) so you can export for each platform without re-editing from scratch.
Step 3: Add Captions That Don’t Look Boring
Captions are no longer optional. Most people scroll with the sound off. But captions shouldn’t look like subtitles from a 1996 DVD.
Best apps for smart, stylish captions:
- Captions App (iOS): AI-powered, super accurate, and lets you style your text with movement, highlights, and animations.
- MixCaptions: Batch process captions, edit fonts and placement, and even export srt files for YouTube.
- CapCut (again): Built-in auto-caption tool is pretty solid—and lets you animate word-by-word if you want that extra flair.
Style tips:
- Use bold fonts for keywords
- Don’t overload the screen—stick to 1–2 lines max
- Sync timing with speech or music for maximum impact
Step 4: Sound Is Half the Video—Pick It Carefully
A good soundtrack, clean voiceover, and some subtle sound effects? That’s what makes your video feel polished, even if it’s shot on your phone.
Best sound tools:
- Splice (iOS/Android): Great for music, audio trimming, and mixing tracks under dialogue.
- Dolby On (iOS/Android): Record voiceovers with studio-like quality, even in echo-y rooms.
- Epidemic Sound / Artlist / Uppbeat: Royalty-free music libraries with social-safe licenses (great for YouTube or brand collabs).
And don’t forget:
- Fade in/out your music—hard cuts sound jarring
- Lower background volume under your voice
- Use funny or dramatic sound effects for reaction moments
Step 5: Add Transitions, But Don’t Get Weird
Too many transitions = “I just discovered editing.” But a few clean, purposeful moves? Chef’s kiss.
Where to find the good ones:
- CapCut templates: Pre-built transitions you can drag and drop.
- LumaFusion (iOS): More advanced editing features, great for cinematic fades or zooms.
- VLLO (iOS/Android): Intuitive and polished transitions without overwhelming the viewer.
When in doubt, just use:
- Zoom cut-ins for emphasis
- Whip pans for moving between scenes
- Jump cuts for speed
Keep it snappy. Keep it smooth.
Step 6: Pre-Made Templates = Saved Brain Cells
If you find yourself editing the same structure over and over again—hook, tip, B-roll, CTA—you’re not alone. That’s where templates come in.
Apps with reusable templates:
- CapCut (yes, again): Their templates feature is a game-changer. Find viral formats and make them your own.
- Canva Video (iOS/Desktop): Perfect for branded reels, quote videos, or slideshows with animated text.
- Mojo / Storyluxe / Seen: Excellent for stylized IG Stories or Reels that feel premium but take 2 minutes to make.
Pro tip: Save your own finished videos as templates so you can just swap in footage next time. Boom—instant content system.
Step 7: Export Like a Creator, Not a Tourist
You finished editing. Congrats! But don’t ruin it with bad export settings or blurry reuploads.
Checklist before exporting:
- Set resolution to at least 1080p (preferably 4K if your footage supports it)
- Match aspect ratio to platform (Reels = 9:16, YouTube = 16:9 or Shorts)
- Avoid over-compression—use “high quality” export if available
And if you're cross-posting:
- Use SnapTik or Repost for Instagram to remove watermarks before posting to other platforms
- Rename your file with something searchable if you're uploading to YouTube Shorts
You don’t need every app under the sun. You just need a few that work together without giving you a headache.
Here’s one sample stack you could build today:
- Filming: Pro Camera or just your phone
- Editing: CapCut + VN
- Captions: Captions App
- Audio: Dolby On + Epidemic Sound
- Templates: Canva or CapCut
- Export: High-res with SnapTik for cross-posting
Keep it simple. Keep it smooth. And don’t be afraid to switch apps if something better fits your flow.