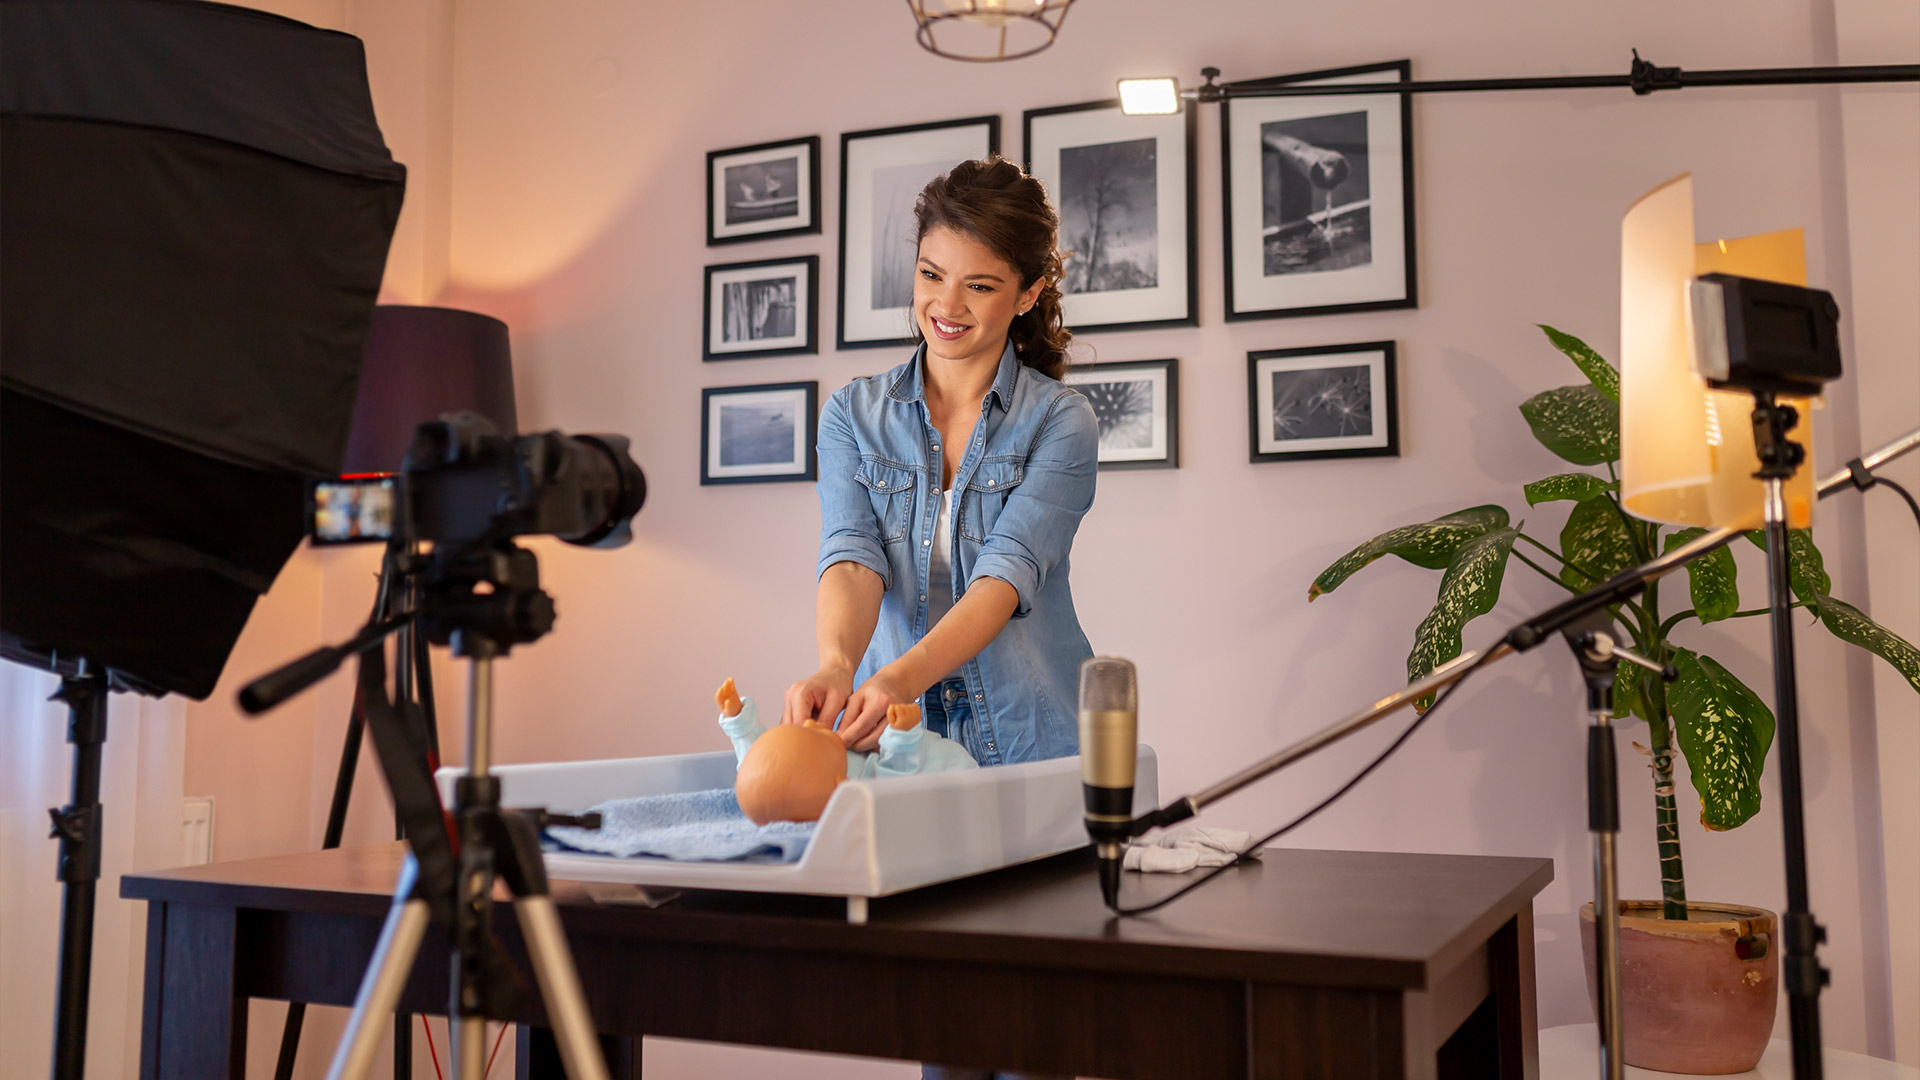
Let’s be honest—most of us don’t have a giant studio or extra room just for content creation. You might be filming in a bedroom corner, a cramped kitchen, or even next to your closet. But that doesn’t mean your lighting has to look amateur.
Good lighting doesn’t require a lot of space. It just takes a smart setup, the right gear, and knowing how to work with what you’ve got. If you’ve ever said, “I’d film more, but my space sucks,” this one’s for you.
Why Lighting Is Everything
Your phone camera is probably better than you think. What makes or breaks your video quality isn’t usually the camera—it’s the light. A $1,000 DSLR in bad lighting still looks worse than a smartphone in great lighting.
Lighting affects everything:
- How clean and crisp your footage looks
- Whether your skin looks natural or ghostly
- How well your subject stands out from the background
- The overall mood (warm, cozy, dramatic, bright, etc.)
Once you get lighting right, your whole video feels more polished—even if you’re filming next to your laundry pile.
The Core Setup: Key, Fill, and Background Light
You’ve probably heard of the “three-point lighting” rule: key light, fill light, and background light. That still applies, even in a tight space. But you can simplify:
- Key light: Your main source of brightness, usually lighting one side of your face.
- Fill light: A softer light on the opposite side to reduce harsh shadows.
- Background or hair light: Something to separate you from your wall so you don’t look like you’re melting into it.
In tiny rooms, you don’t need three huge lights. You just need to fake it smartly.
Best Compact Lights for Small Spaces
Let’s break down a few lighting options that won’t eat up your floor:
1. Ring Lights
Still a go-to for good reason. They’re compact, affordable, and easy to control.
- Great for face shots and direct lighting
- Choose a model with adjustable color temperature
- Stick with a smaller size (10–12") if your space is tight
Bonus: many clamp directly onto your desk or phone tripod.
2. LED Panel Lights
These are flat, bright, and incredibly versatile.
- Can be mounted on tripods or walls
- Often dimmable with warm/cool options
- Great for both key and fill lights
Some even come battery-powered, so no messy cords.
3. Clamp Lights with Diffusion
A budget lifesaver. Clip-on lights with soft white bulbs and a DIY diffuser (like parchment paper or a cheap softbox cover) can work wonders.
- Clamp onto shelves, doors, or furniture
- Angle them up/down depending on your setup
- Total cost can be under $20
4. Smart Bulbs + Lamps
Already have a lamp? Just swap in a tunable smart bulb.
- Control brightness and color from your phone
- Point it at a wall or ceiling for bounce lighting
- Works great as a background glow or soft fill
No extra gear, no extra space taken.
5. Portable RGB Lights
Want more visual flair? Try small RGB lights like the Aputure MC.
- Stick them behind objects, on shelves, or on the wall
- Adds color and depth without bulk
- Use for background separation or creative mood
These are tiny but powerful—and they make even a boring space feel intentional.
Where to Place Lights When Space Is Tight
Now for the part that trips people up: placement. You don’t need a full lighting rig—just angles that flatter your face and show separation.
Here’s a simple setup that works in almost any corner:
- Place your key light at a 45° angle to your face, slightly above eye level
- Use a white wall or piece of foam board opposite it as a fill
- Add a lamp or RGB light in the background to break up the wall
Can’t fit anything behind you? Try a top-down clamp light aimed at your shoulders or the back of your head. It gives just enough edge light to make you pop.
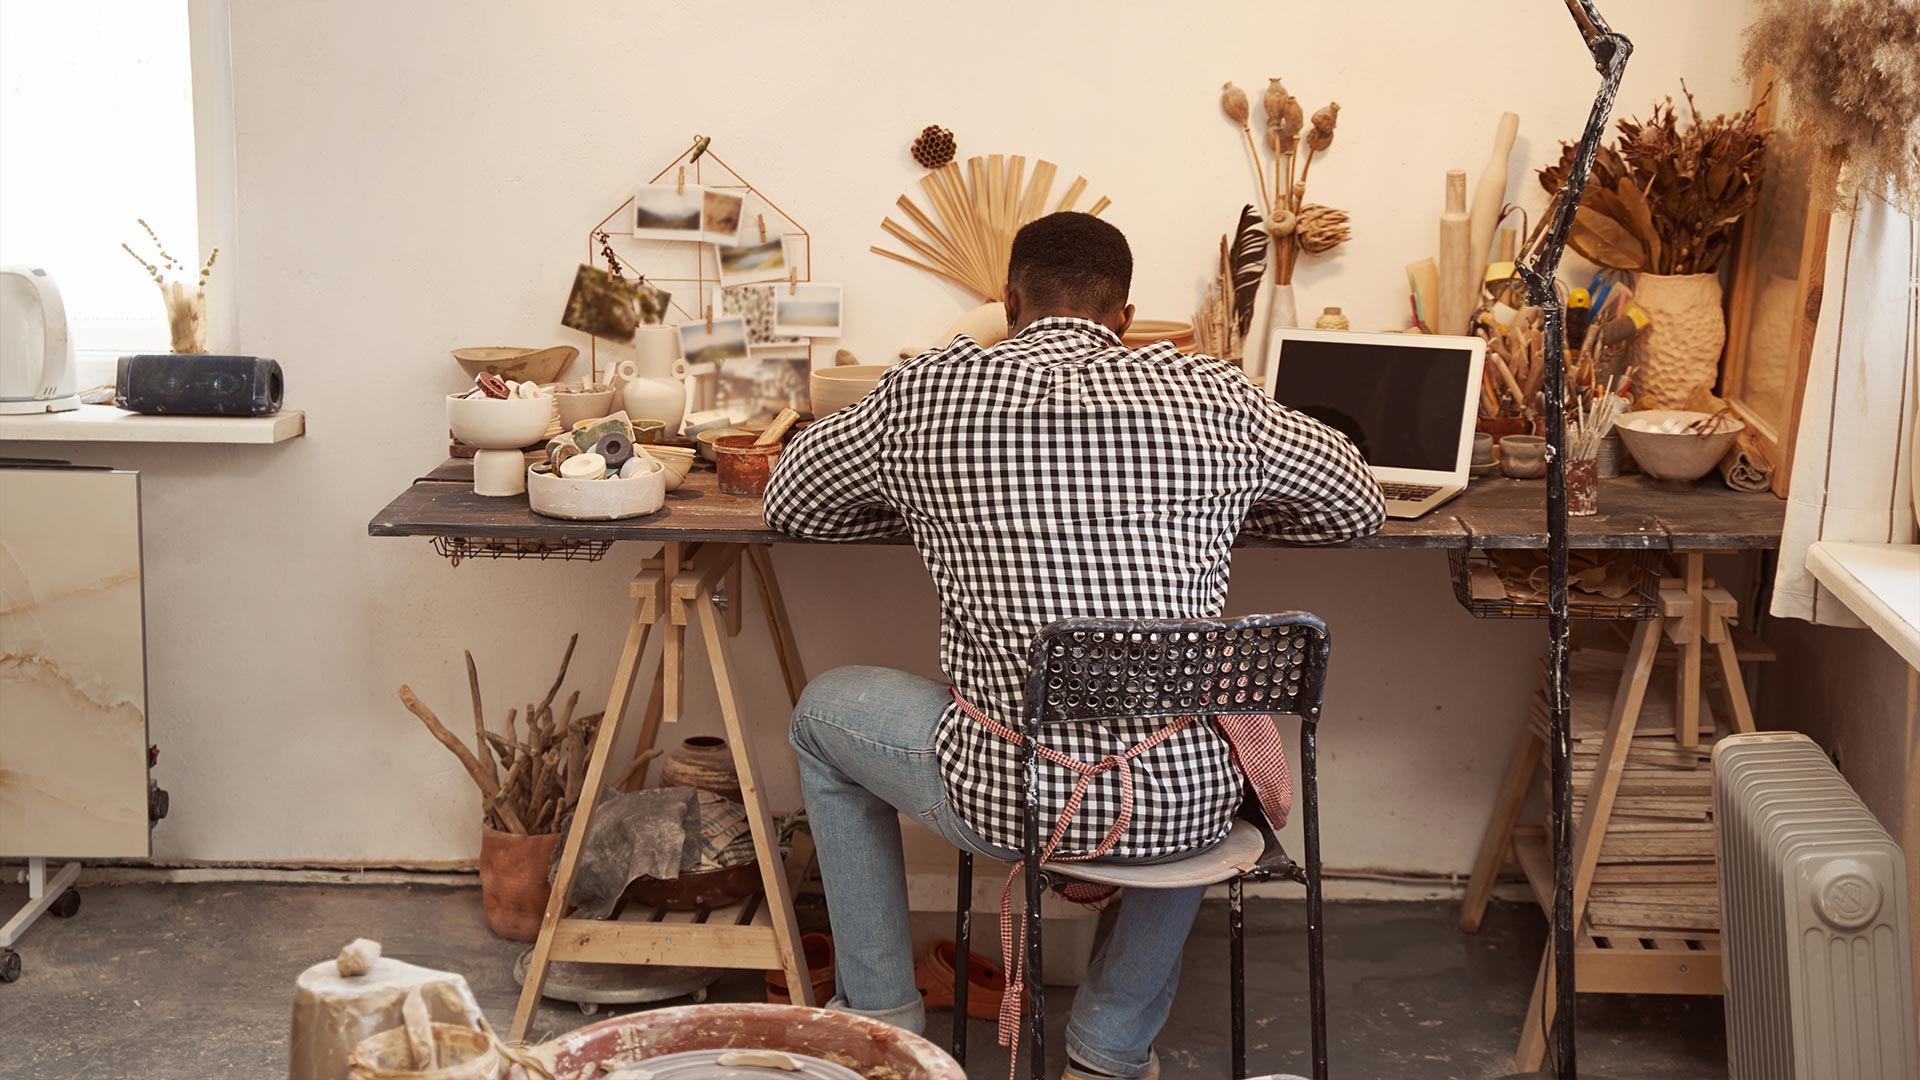
Using Natural Light—The Right Way
If you’re lucky enough to have a window, use it. Natural light is flattering and free—but it needs control.
- Face the window, not sideways to it
- Add a sheer curtain or thin white fabric to soften harsh light
- Film at the same time each day to avoid color shifts
Avoid direct sunlight unless you’re going for drama. Otherwise, it can blow out your face and cast weird shadows.
Avoid These Common Small-Space Lighting Mistakes
Even a good light can look bad if you’re not careful. Watch out for these:
- Harsh shadows: If your light is too close or too strong, soften it with a diffuser or bounce.
- Weird color balance: Mix lighting types (like daylight + tungsten) and your face might turn orange or blue. Stick with one temperature or use color-correcting lights.
- Reflections in glasses: Angle your light slightly above and to the side to avoid glare.
- Overhead-only light: It’s unflattering and makes your eyes look tired. Always add a light facing you.
Make Your Setup Disappear After Filming
Nobody wants to live inside a film set. Use gear that packs away fast:
- Clamp lights detach easily
- Ring lights can double as desk lamps
- RGB lights go back on the shelf as decor
- Softboxes? Maybe not the move for tiny spaces—but collapsible ones exist
Aim for setups you can break down in under 2 minutes. That way, filming won’t feel like a chore.
Lighting on a Shoestring Budget
Need to hack it together with what you’ve got? Totally doable.
- Use white poster board or foam core to bounce light
- Clip a white shower curtain in front of a lamp for soft lighting
- Stack books as light stands
- Reflect light from your phone screen as a mini fill (yes, seriously)
Your viewer doesn’t care what’s off-camera—they just want the video to look good. And a little creativity goes a long way.